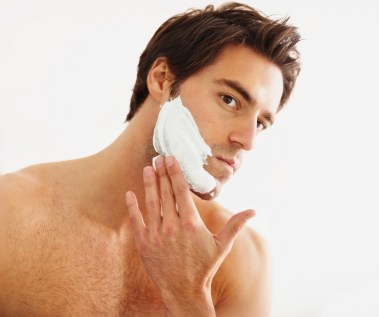
While you may have developed your own shaving routine, the daily repetition in the early morning often yields bad habits and shortcuts that may be preventing you from enjoying a smooth shave.

Many men commit common shaving mistakes that contribute to the unhealthy appearance of their skin, like poor preparation, using a dull blade, or shaving with only a thin layer of inexpensive foam. These mistakes can leave you with irritated skin and razor bumps.
To avoid these perils, you need to invest in high-quality blades and contemporary shaving gel. Neither will break your bank account and you’ll see a noticeable improvement in the comfort of your shave.
Incorporate these five steps for a smooth shave into your routine, and you'll reap the benefits of healthier skin and an effortless shave.
step 1
Don’t towel-dry your face 
Before stepping out of a hot shower, be sure to soak your face in the hot water for a moment or two to help you get a smooth shave. Run the towel over your head, across your shoulders and the rest of your body, but keep your face wet. This keeps your stubble soft until you can apply the shaving gel that will maintain that softness.step 2
 Apply plenty of gel
Shaving gels act to reduce friction between the blade and your skin. Modern, high-quality gels act additionally to protect the skin and increase the comfort of a shave. To get a smooth shave, apply a thick coat of gel to your face in liberal amounts and gently massage it into your skin. Using too little may expose you to irritation, but each gel is slightly different so you may have to experiment to find the right amount for your favorite product. When in doubt, use more than seems necessary.
You're three steps away from a smooth shave...
step 3
Keep your hands and face clean
When shaving, the blade scrapes away the thinnest top layer of skin along with the stubble. This is a delicate time for your skin. By keeping your hands clean and using a fresh hand towel to dry them, you'll keeping your skin healthy and prepared for the next step in the process.
Thoroughly washing your face prior to shaving will also help in this regard, as well as remove the natural oils and perspiration that can inhibit the water penetration that a smooth shave demands.
step 4
Shave tricky spots last
Begin shaving on either side of your face and draw the razor below the sideburn areas first. These areas respond to shaving gels quickly since they are relatively flat surfaces. Move on to your upper lip and tackle those other difficult areas, like your chin and around your ears. By leaving these spots until the end of the process, you allow the shaving gel ample time to work its softening effect.
Resist hacking away at troublesome spots; always use light, gentle strokes. Let the razor do the work, not you.
step 5
Apply post-shave gel
Leave the old-fashioned aftershaves in the bargain bin and refrain from applying cologne directly to your freshly shaved face. Some of the older shaving products your grandfather used contain alcohol, which is great as a disinfectant, but will leave your face noticeably red. And you can’t forget the painful sting. Perhaps it was a daily affirmation of manhood to brace yourself against the sink and wait for the pain to subside, but science has come to the rescue: Today, post-shave gels do not sting because they are designed to soothe and moisturize your skin.
soothe the burn
Begin your new shaving regimen by purchasing a new line of quality products. Above all, allow the post-shave gel to do its work and trust the razor as it glides across your face. Your grandfather will be proud, and you’ll make razor burn a thing of the past.


No comments:
Post a Comment